In the interest of being totally open and honest (and relieved of all guilt), I must admit right off the bat that our mud kitchen was thoughtfully built by grandpa. But it was a DIY mud kitchen built with two hands. And we have many suggestions for you that span from building to buying. Even though it wasn’t built with our two hands, it has become a quick favorite backyard activity and so I felt I’d pass on our recommendations and help others interested in setting up the mud kitchen of your kids’ dreams. Because seriously, these things are what dreams are made of.
What is a mud kitchen?
If you’ve never heard of a mud kitchen, we won’t get too technical with the details because it’s pretty straightforward. A mud kitchen is an outdoor pretend kitchen. And unlike the ones your kids use indoors, these use nature as the ingredients. Mud kitchens are not just fun play, they actually have a lot of great benefits. They encourage open ended play, which builds imagination and creativity. Dirt is good for the immune system…really! It inspires independent play (and if you’re interested, we wrote a whole post around ways to promote independent play). Plus it’s good to get messy – mixing and stirring and adding.
Step 1: Build or buy your mud kitchen
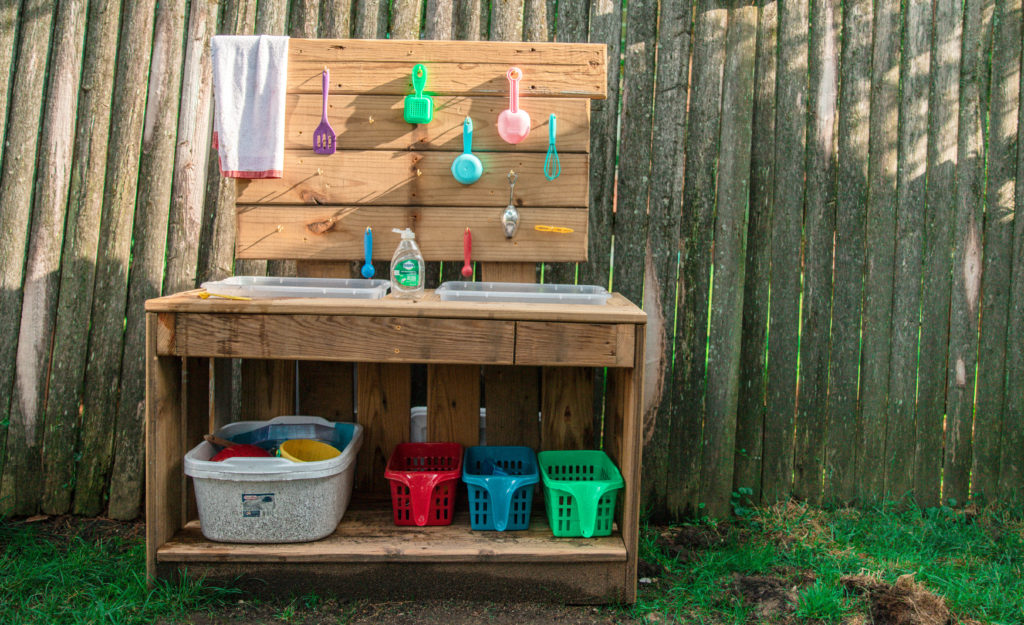
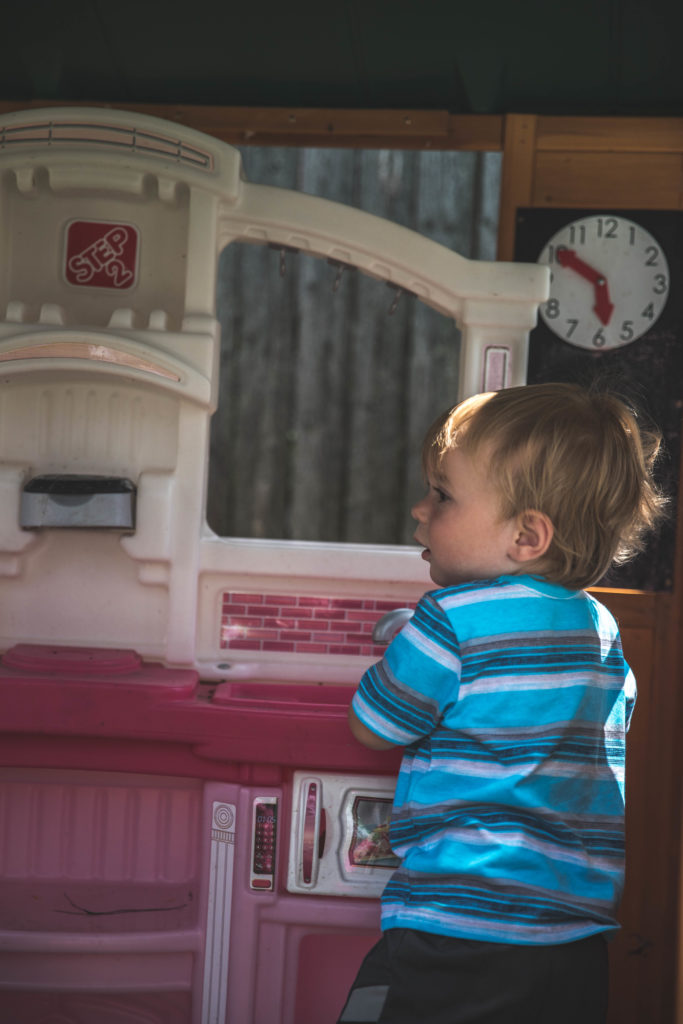
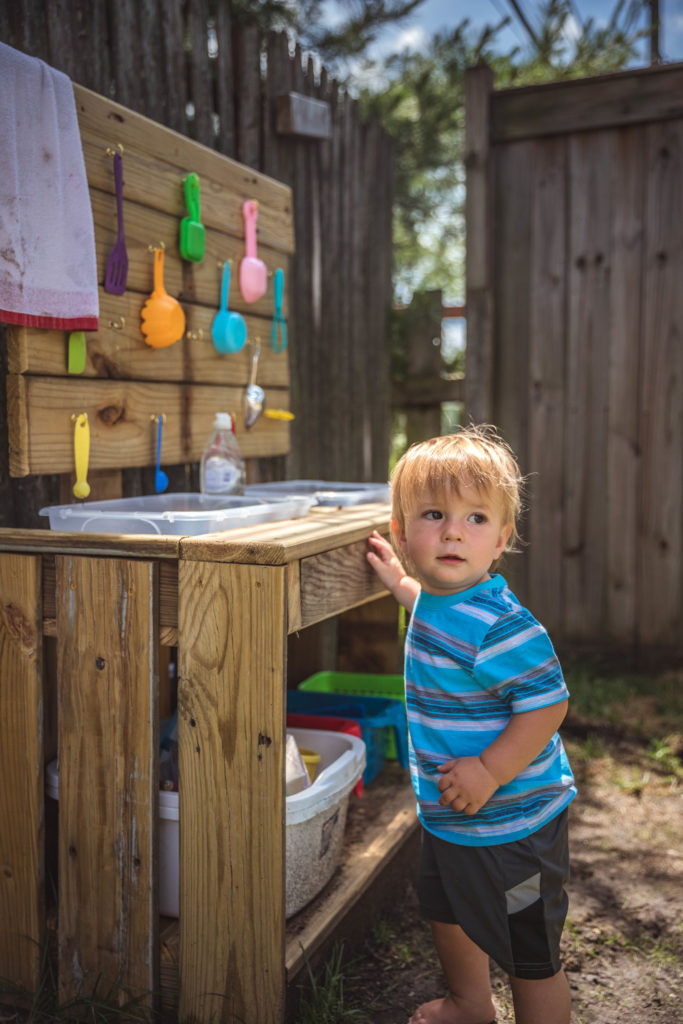
Ours was a birthday gift for our 4 year old and was built by hand from old deck wood. Since we didn’t build it ourselves, this video walks you through how to build your own mud kitchen – DIY if you will. The other option is to buy a pre-assembled mud kitchen and add all the bells and whistles yourself. This mud kitchen by Hape or this wood kitchen on Amazon are two quality options. But we also used our old indoor play kitchen (which we repurposed for an outdoor mud kitchen) before our current one. We love that this is an affordable way to create a mud kitchen and super easy to hose off and clean. All are great options and will come down to the accessories.
Step 2: All the containers and utensils you can find
When setting up your kids mud kitchen, the cooking vessels can take the experience to another level. It’s easy to find pots and pans you have laying around the house. We have a bunch of Dollar Tree finds, which have been big hits. And you can also find plastic cookware on Amazon or Ikea. Just make sure you have a variety of cooking equipment. Our 4 year old has 6-8 dishes going at one time.
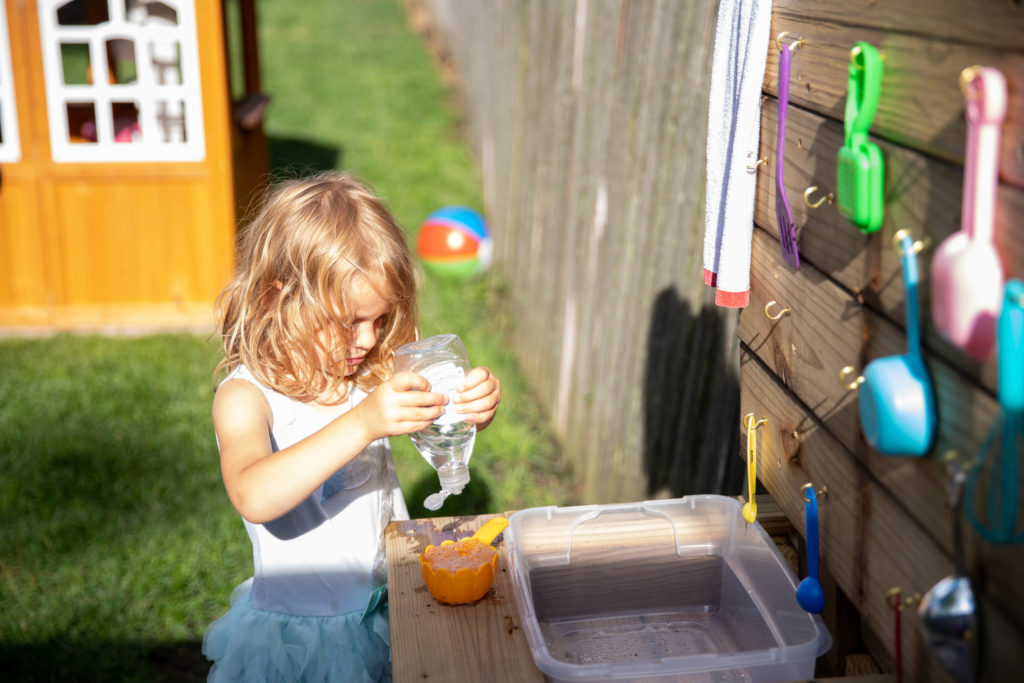
And don’t forget the utensils: spatulas, whisks, spoons, tongs. Everything you’d find in any chef’s kitchen. Ooh dont forget the soap and sponges so they can wash the dishes. And a cupcake pan. Because all kids love mud cupcakes.
Step 3: DIY menu planning for your DIY mud kitchen
Every good kitchen needs recipes, even if those recipes contain ingredients like dirt and weeds. Our general approach is to suggest a food as a jumping off point and see what she can dream up. Recently we had pumpkin soup, pumpkin juice, pumpkin pasta, and even pumpkin coffee (no spice – she was very clear on that when I asked) in the middle of summer. And then you can get a rustic chalkboard to celebrate their most popular recipes.
Step 4: A place to dine
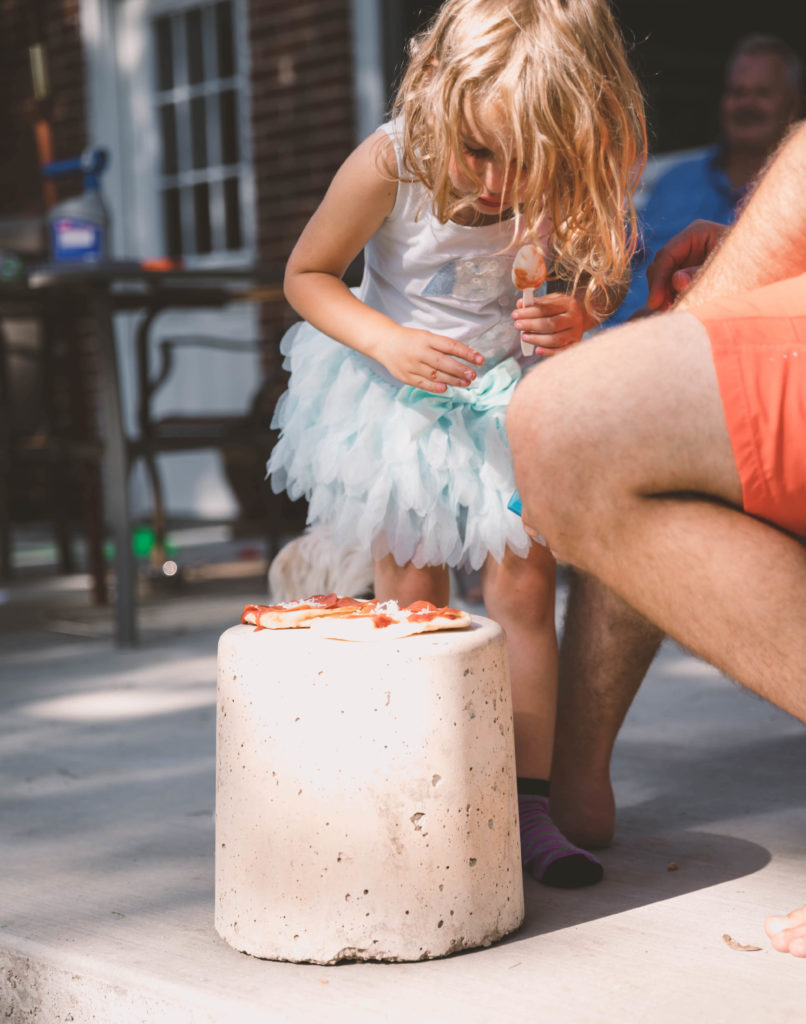
When thinking about how to set up a mud kitchen, the kitchen itself is the obvious focus. But what about a place to eat the tasty creations. Still dreaming about that pumpkin coffee. You could use whatever mini kids furniture you may have. Or a little camping chair if you have one. In our case we use one of these kids picnic tables. They love eating lunch on it (of the regular variety) and comes with shade!
Step 5: The most important part…
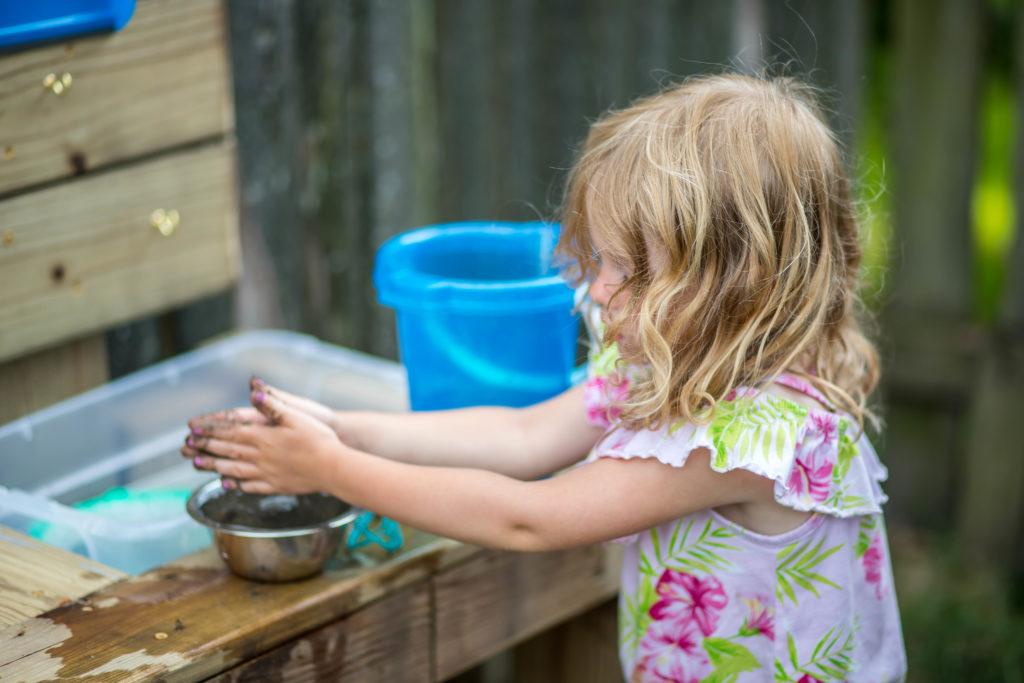
Mud! No DIY mud kitchen could be complete without the critical ingredient?
What mud do you use in a mud kitchen?
The best mud for a mud kitchen can come from your own backyard. Set up your mud kitchen near a patch of dirt or garden that you don’t mind getting dug up. It could also be as easy as running to the local gardening store and grabbing some soil. In addition to mud, another popular choice is to construct a sand area nearby so kids can mix sand and mud together.
You could also round up some sticks, rocks, and of course water is crucial to actually mixing up the mud. Then let your kids run wild.
You can find all kinds of mud recipes, but my personal favorite: a mud ice creamery. We even made a recipe book of our favorites.
Both our 1 year old and 4 year old are entertained mixing and stirring for hours with this thing. And that’s one of the biggest perks. It’s great for all ages. And all kids should be allowed to get dirty and dig around in the mud, right? Just make sure they don’t forget to do the dishes when they’re done.
Other popular toddler topics:
The Clever Way to Limit Toddler Screen Time (and Help Them Sleep) Read More »
Why Playing Outside in Winter Weather is Important for Kids Read More »
How to Organize a Playroom as a Non-Organized Person Read More »
17 Real Ways to Make Money as a Stay at Home Mom or Dad Read More »
