
A few weeks ago, we celebrated our soon-to-be little girl at a couples baby shower hosted by our generous parents. It was an amazing day and I highly recommend a couples shower for expectant parents looking for a more laid back baby shower. We were able to see and catch up with so many family members and friends, it was great! Plus, everyone left with some shower favors really were fantastic. But who is keeping score?
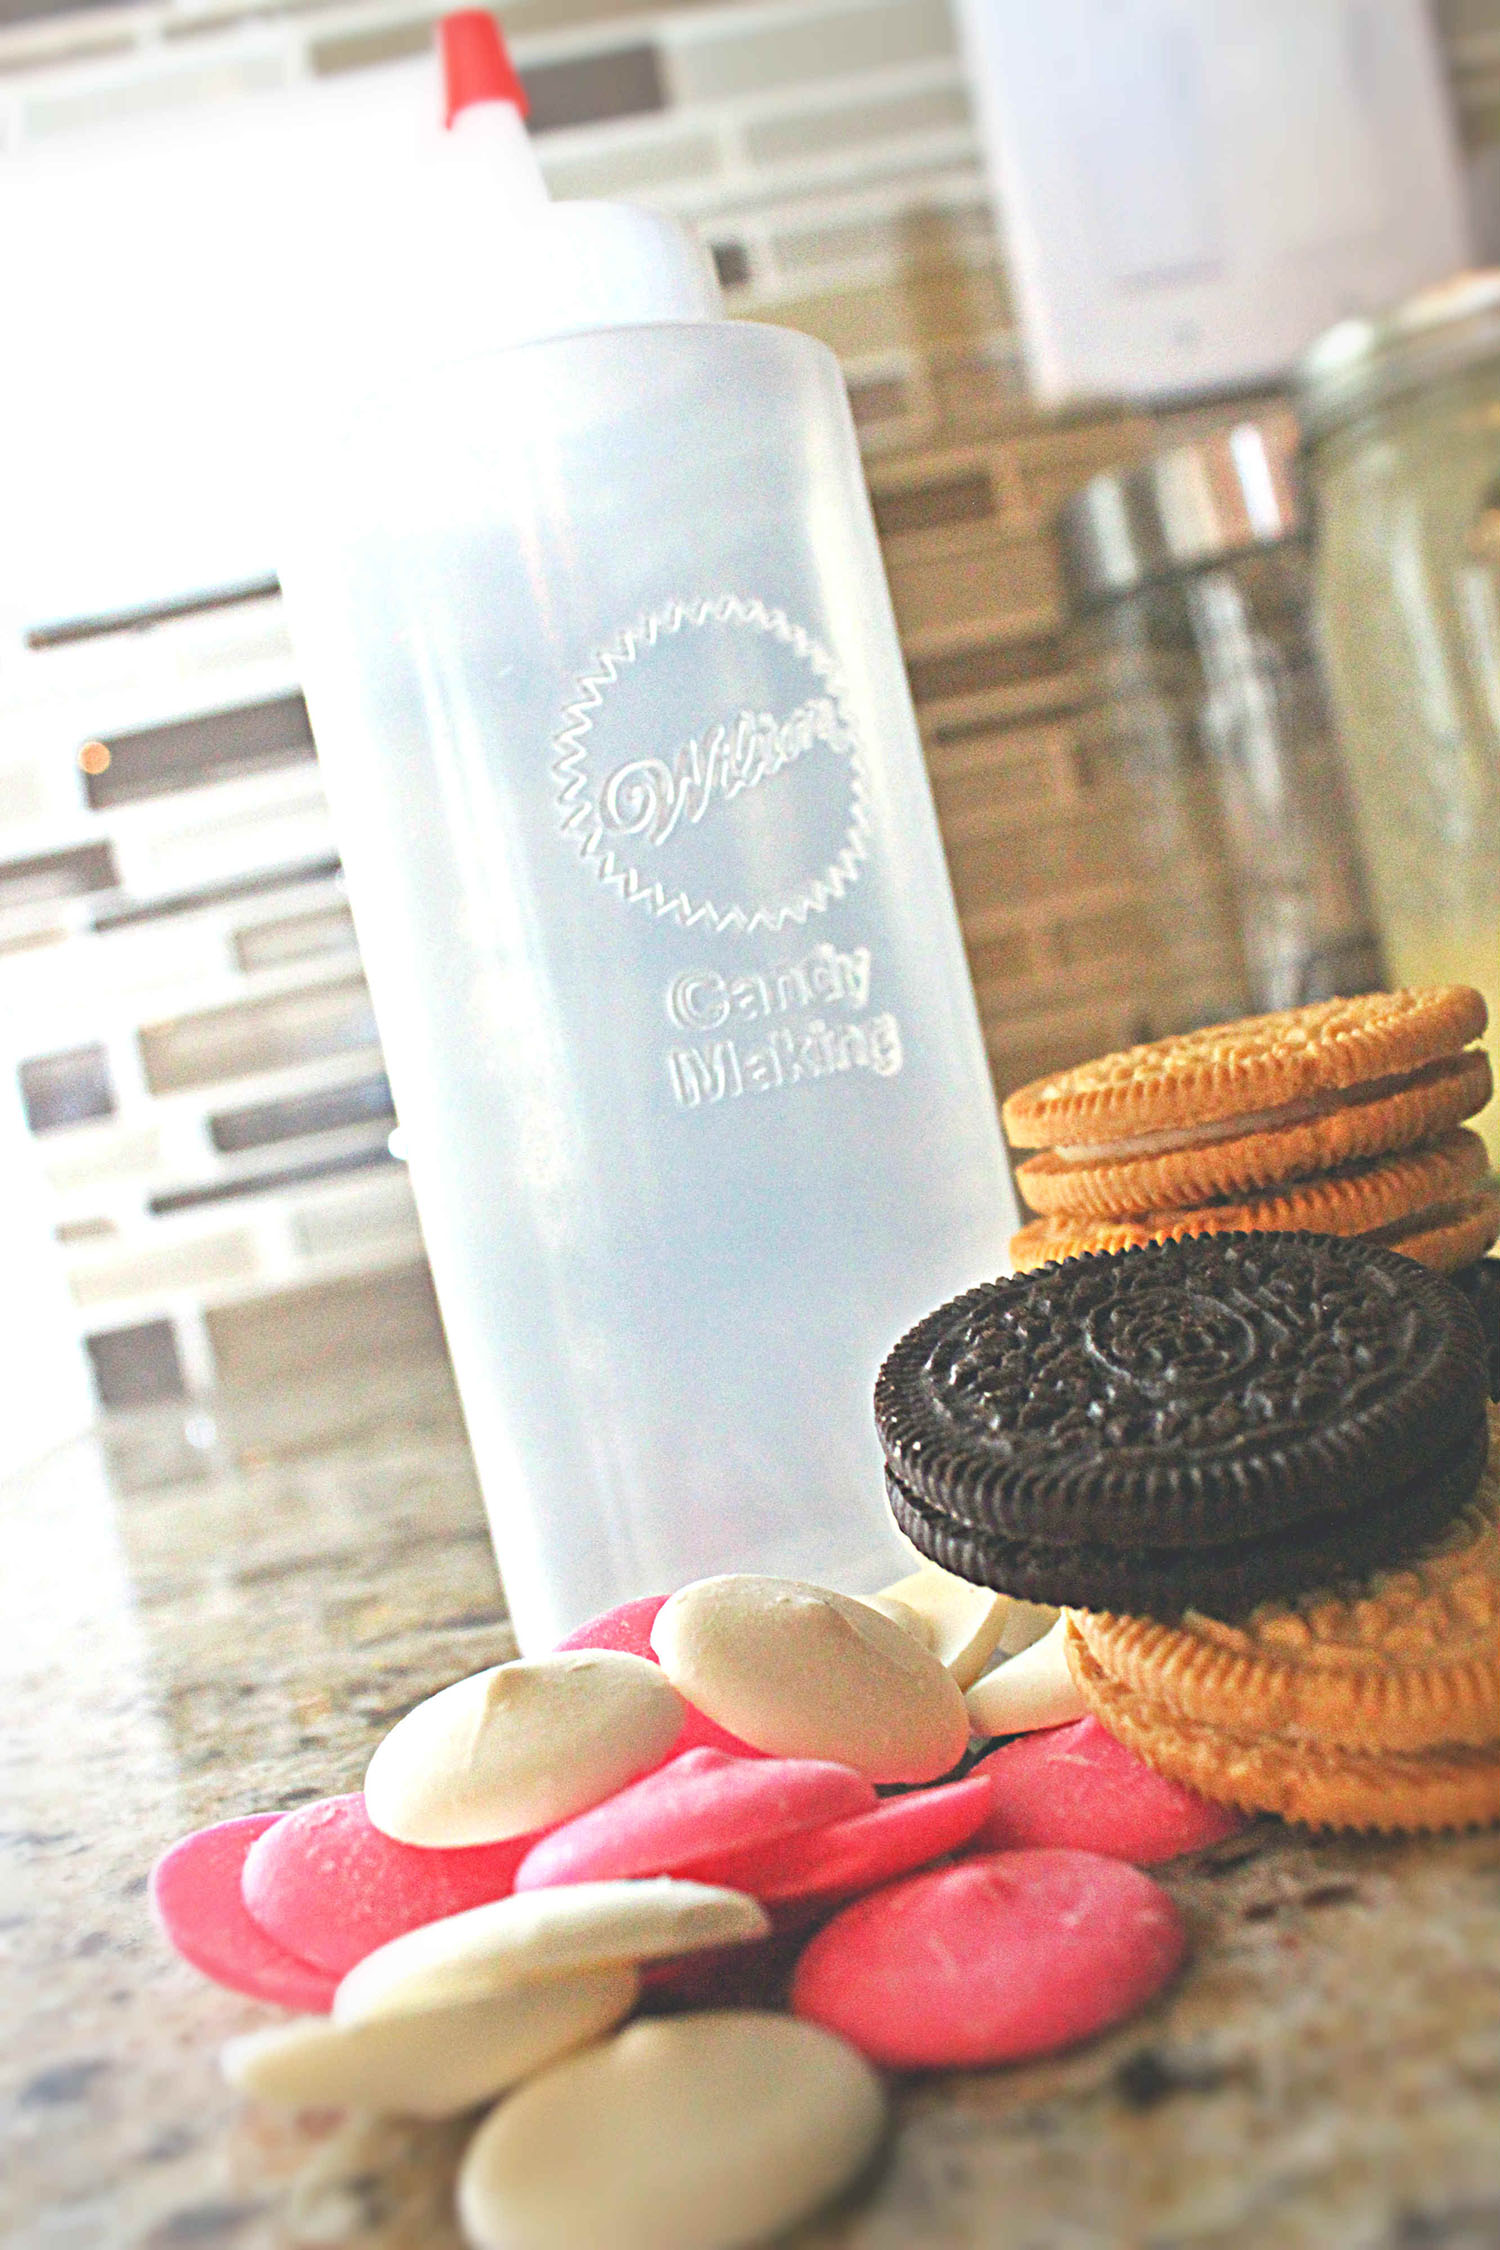
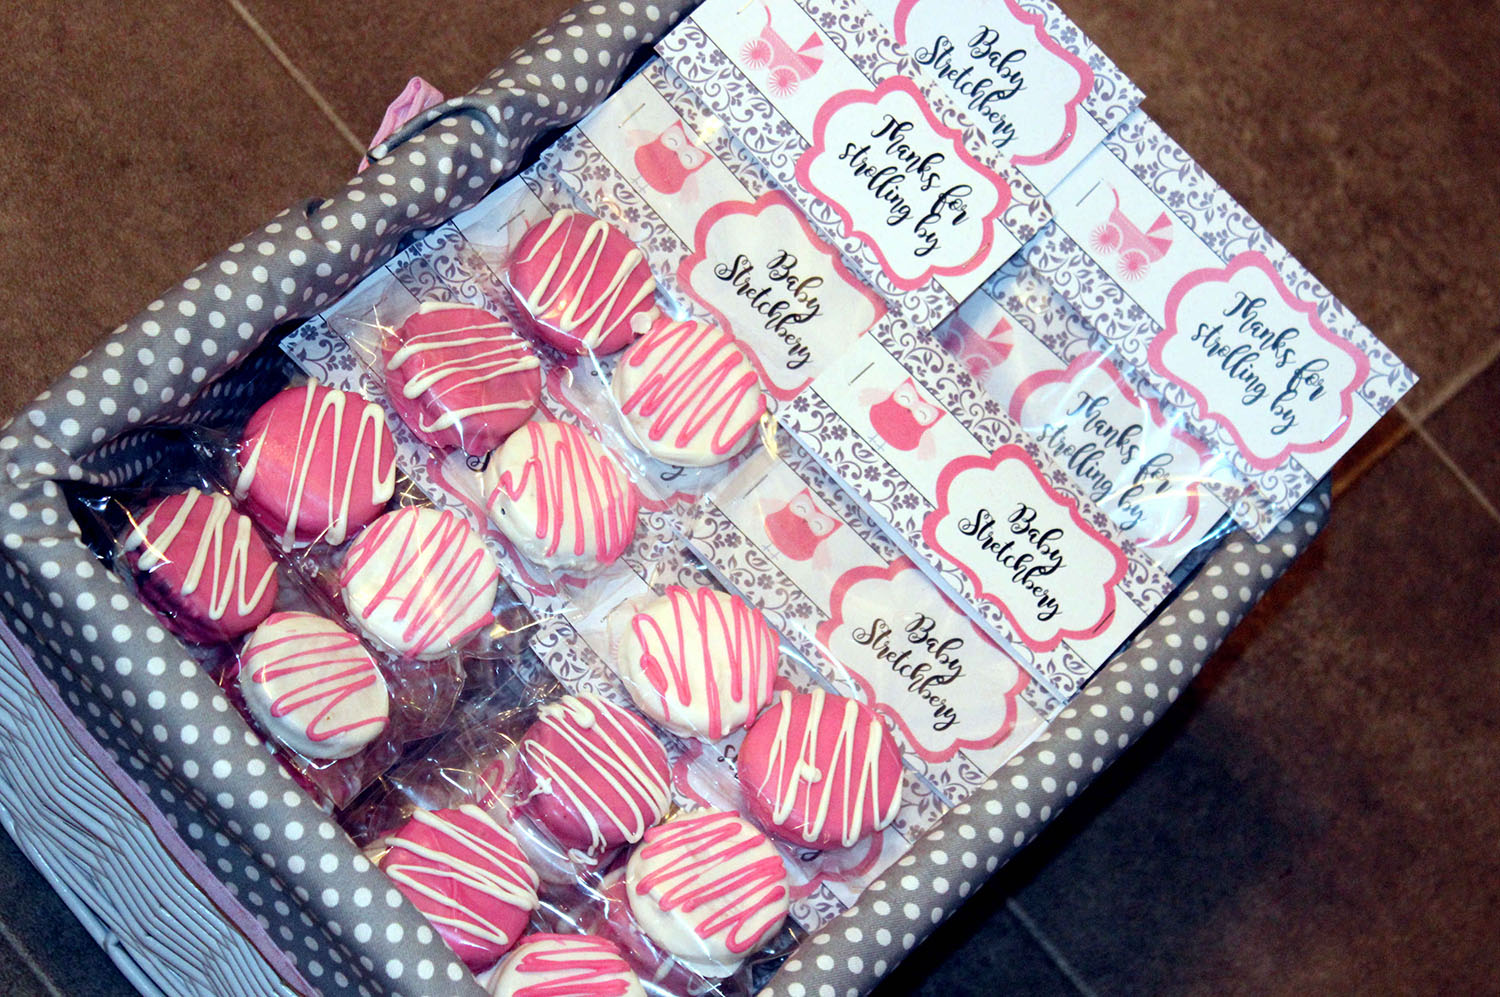
During the planning stage, we really wanted to create something of our own to give to guests as a thank you for sharing the day with us. There are so many fun ideas out there for baby shower favors, but the one we settled on was chocolate covered Oreos. DIY Oreos are creative, easy to assemble, and a crowd favorite. It’s hard to find something that will appeal to every guest, but you can’t go wrong with chocolate. Especially if, like us, you are having men attend the shower. We created ours in pink and white to celebrate our baby girl, but you can substitute for any color you’d like.
What You’ll Need for these Shower Favors
- Oreos (any flavor – we used a mix of chocolate and golden)
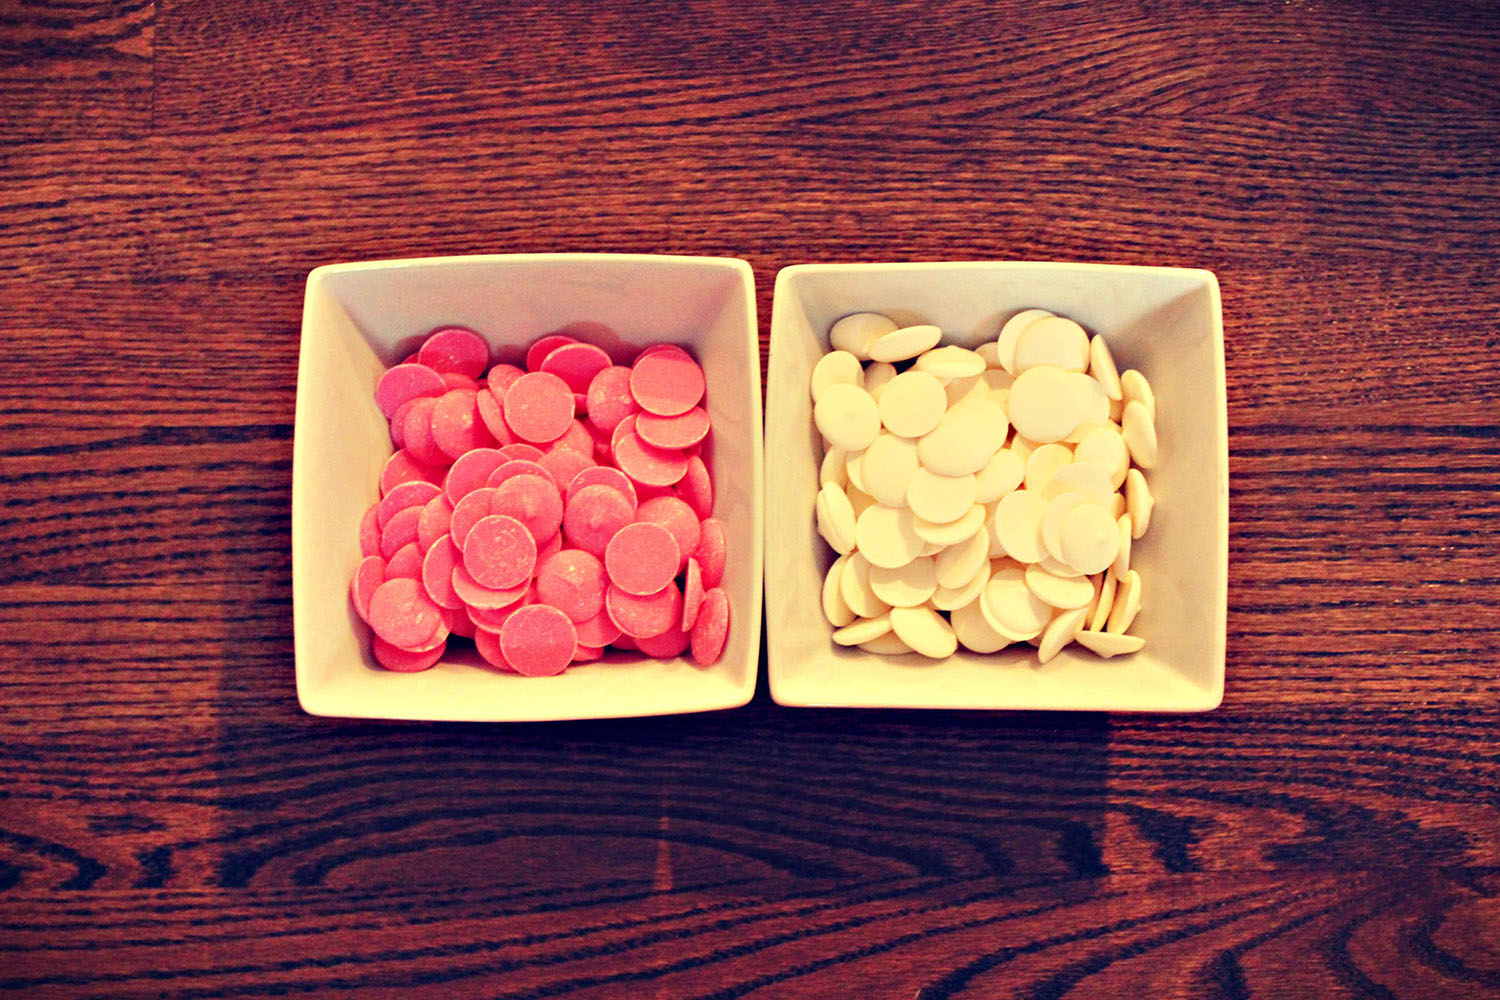
- Candy melts in your choice of color (we used pink and white Wilton brand and they worked well)
- Wax Paper
- Squeeze bottle for decorating
- Plastic cellophane gift bags (can get in store or on Amazon)
- Printer and Printer Paper
- Stapler
- Scissors
A note on quantities: we decided to give each guest two Oreos and we anticipated 100 guests. So we ended up making 200 Oreos. For this amount, we went through 6 packages of Oreos and around 12 packages of melting chocolate (6 pink, 6 white). You can use these ratios to roughly estimate how much you’ll need for your quantity. Each Oreo does use quite a lot of chocolate to ensure it’s fully covered so I recommend getting more chocolate than you think you’ll need.
Here’s What You’ll Do
-
- Lay down a sheet of parchment paper big enough to fit all Oreos during the cooling stage.
- Place one bag of pink chocolate melts in a microwaveable safe bowl and one bag of white in a separate bowl (or whichever colors you decide).
-
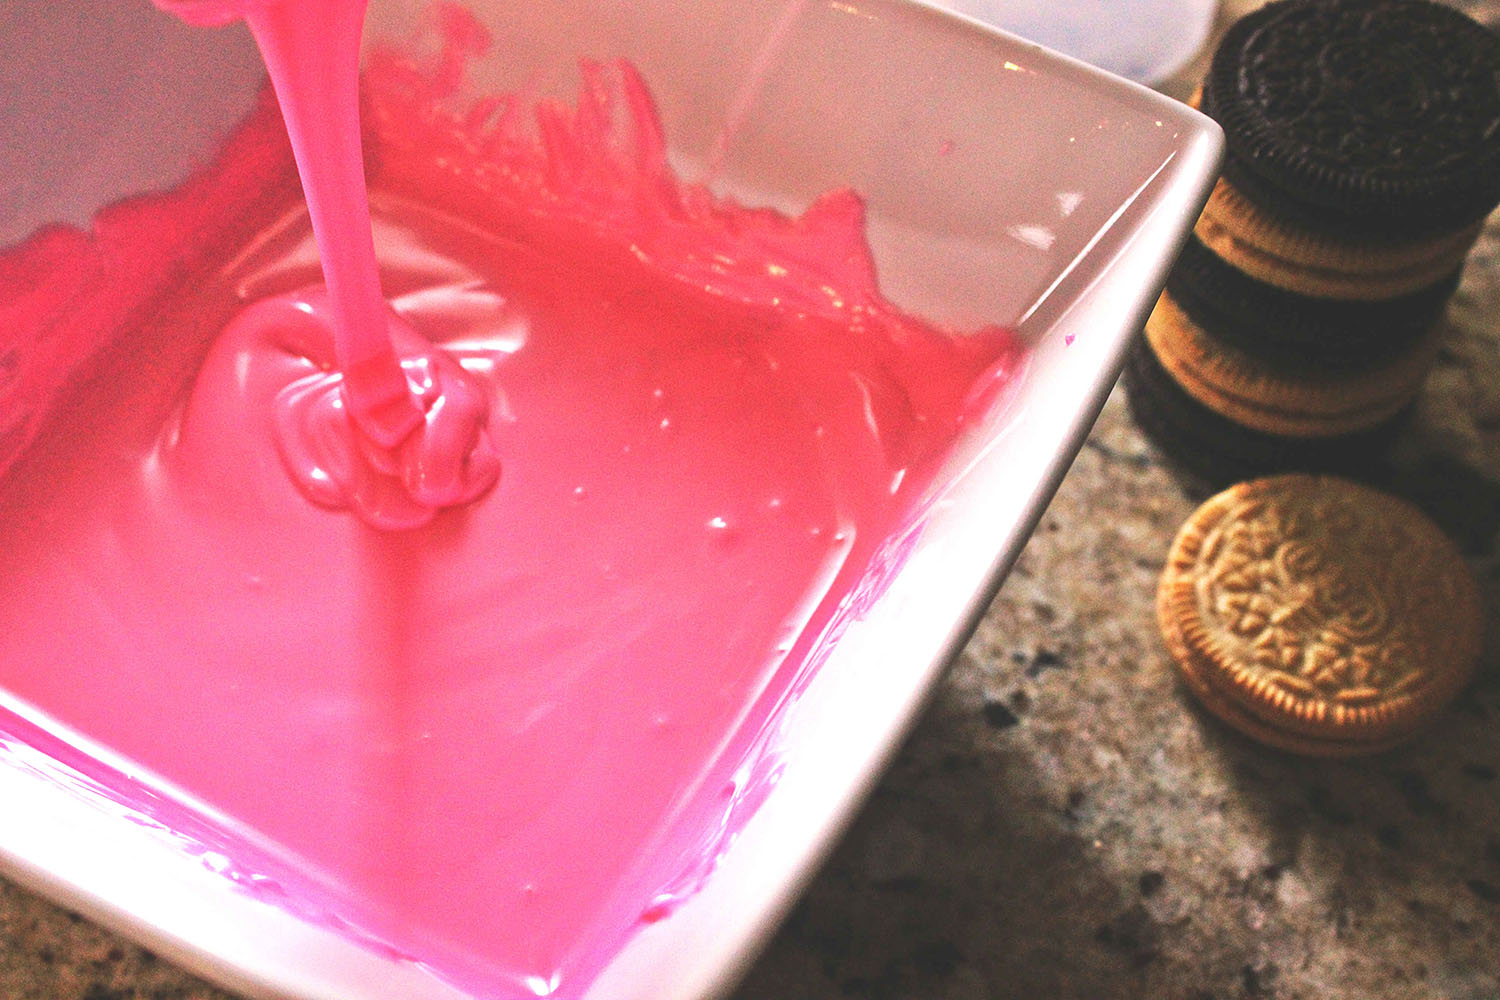
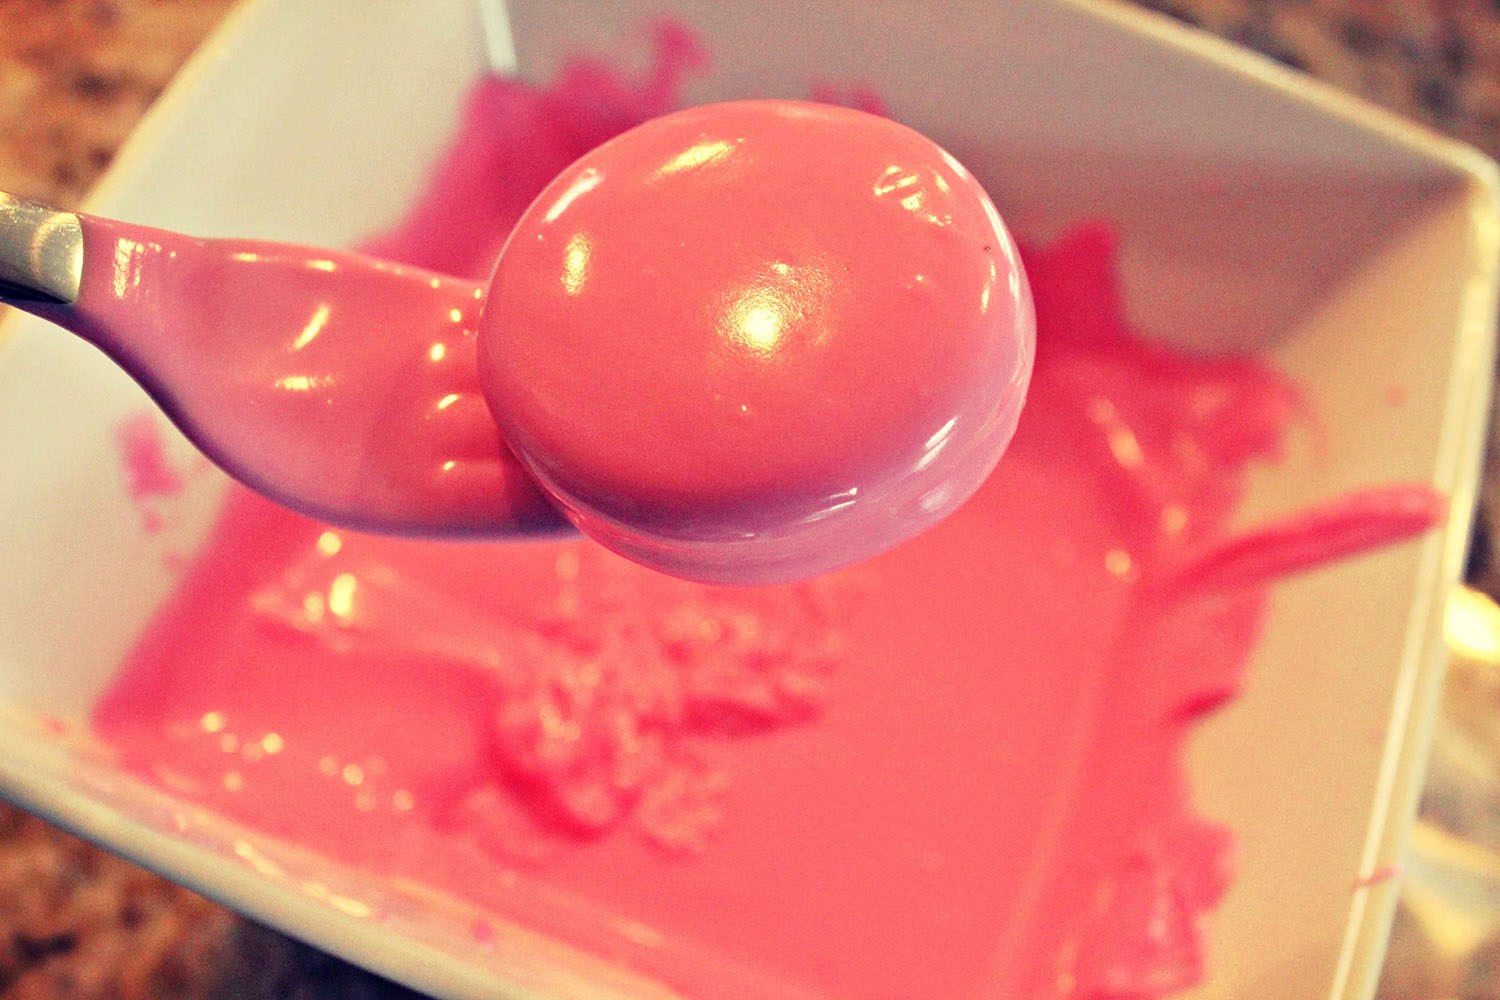
- Melt according to package in 30 second increments until are chips are melted and consistency is smooth.
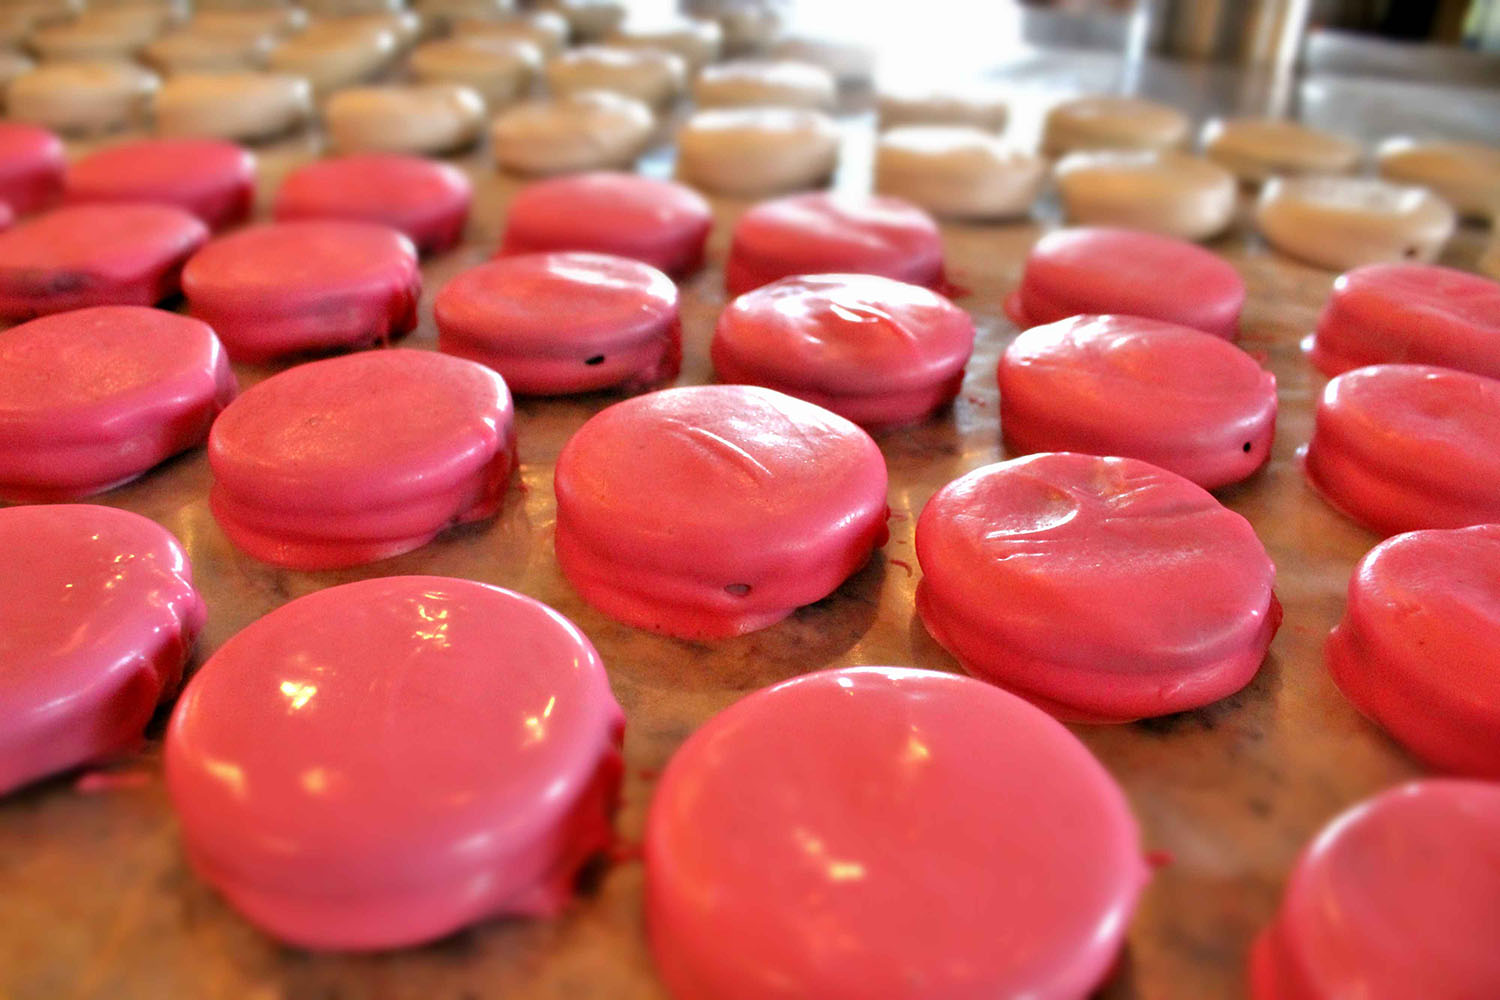
- Dip half the Oreos in the pink chocolate and half in the white. We dipped the golden Oreos in white for a classy look and the chocolate in pink for a fun look. I used a fork to transfer the Oreos to the parchment paper to avoid leaving fingerprint marks in the chocolate.
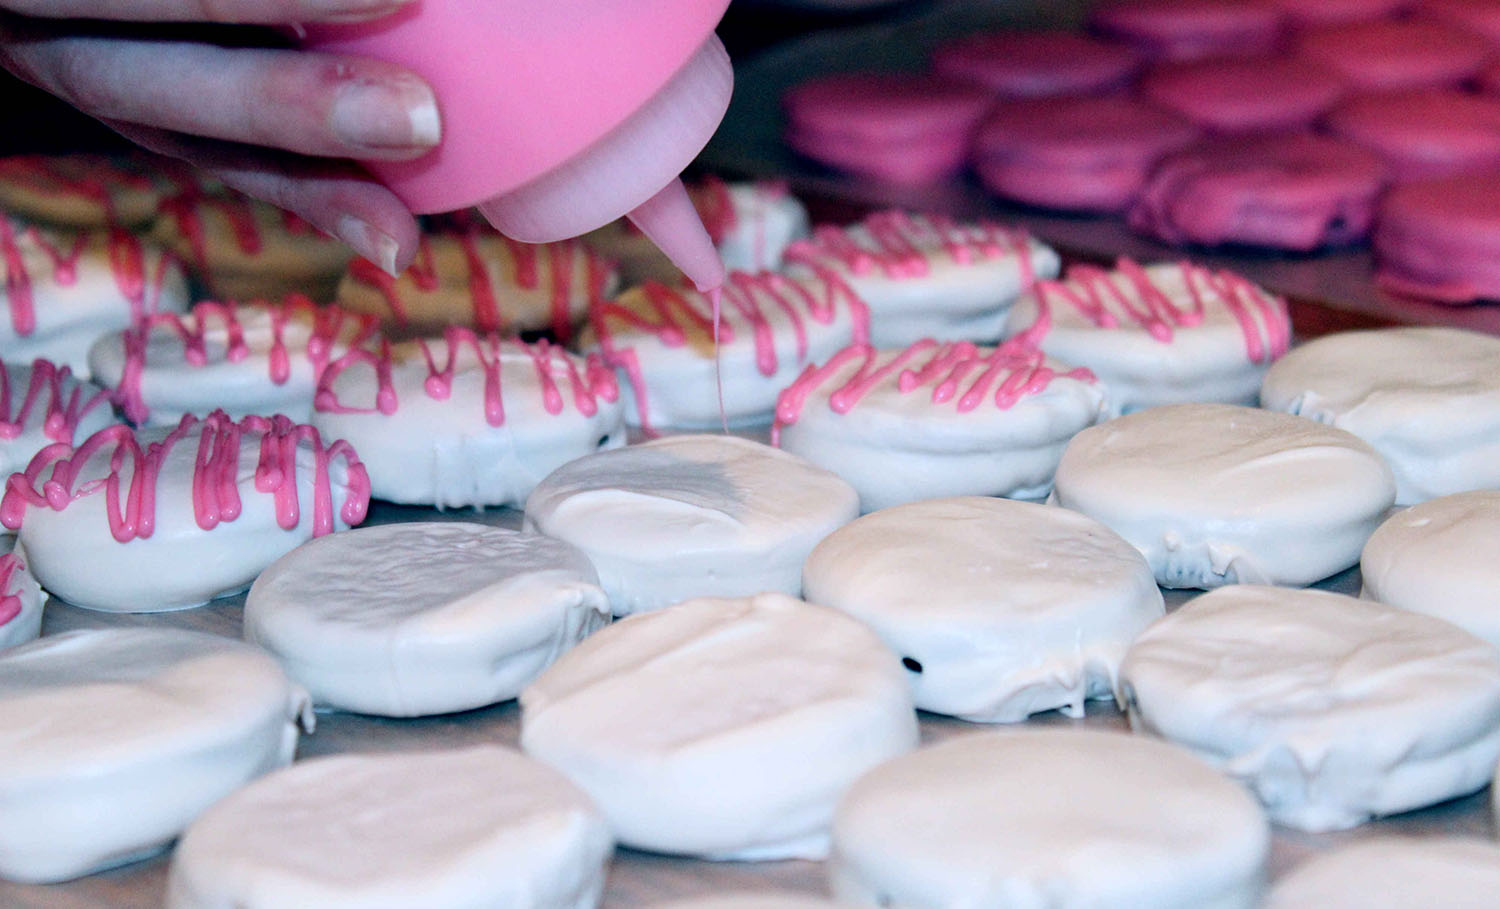
- Allow Oreos to dry on parchment paper. While drying, fill a squeeze bottle with pink candy melts. Place bottle in a bowl of hot water to melt the chocolate. If they don’t seem to be melting you can also stick the bottle in the microwave for a very short time (30 seconds or less). If you microwave for too long, the plastic squeeze bottle could melt.
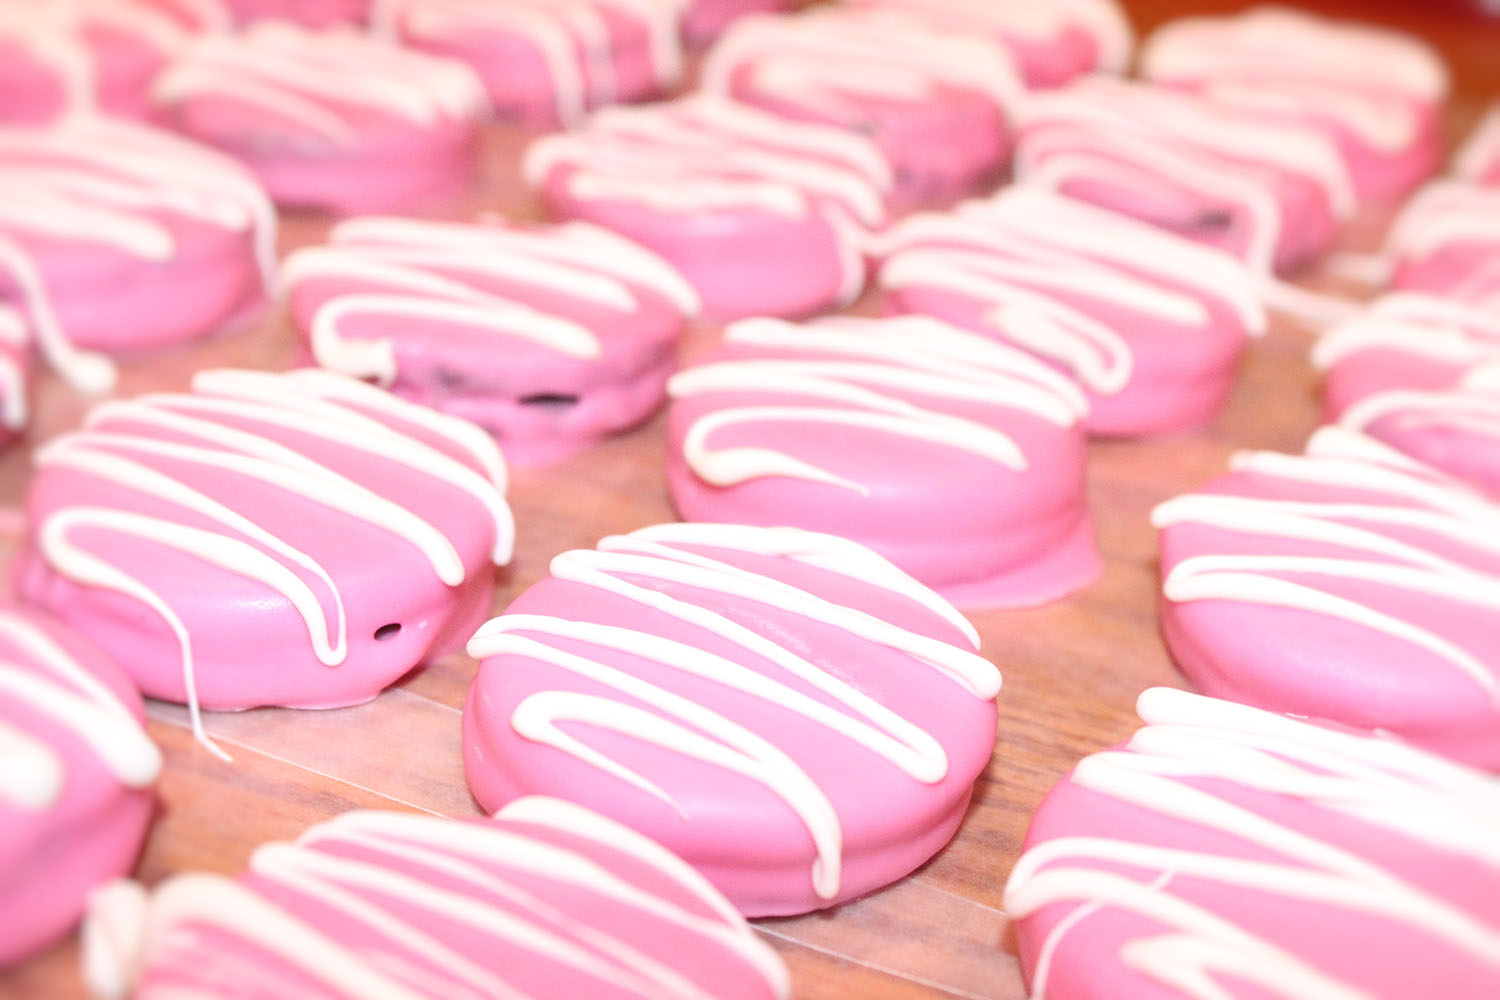
- When Oreos are dry and chocolate in squeeze bottle is fully melted, drizzle over white Oreos. Repeat the process with the white chocolate to drizzle over the pink Oreos (this will give you two different cookie designs to give guests). Create as many colors as you want!
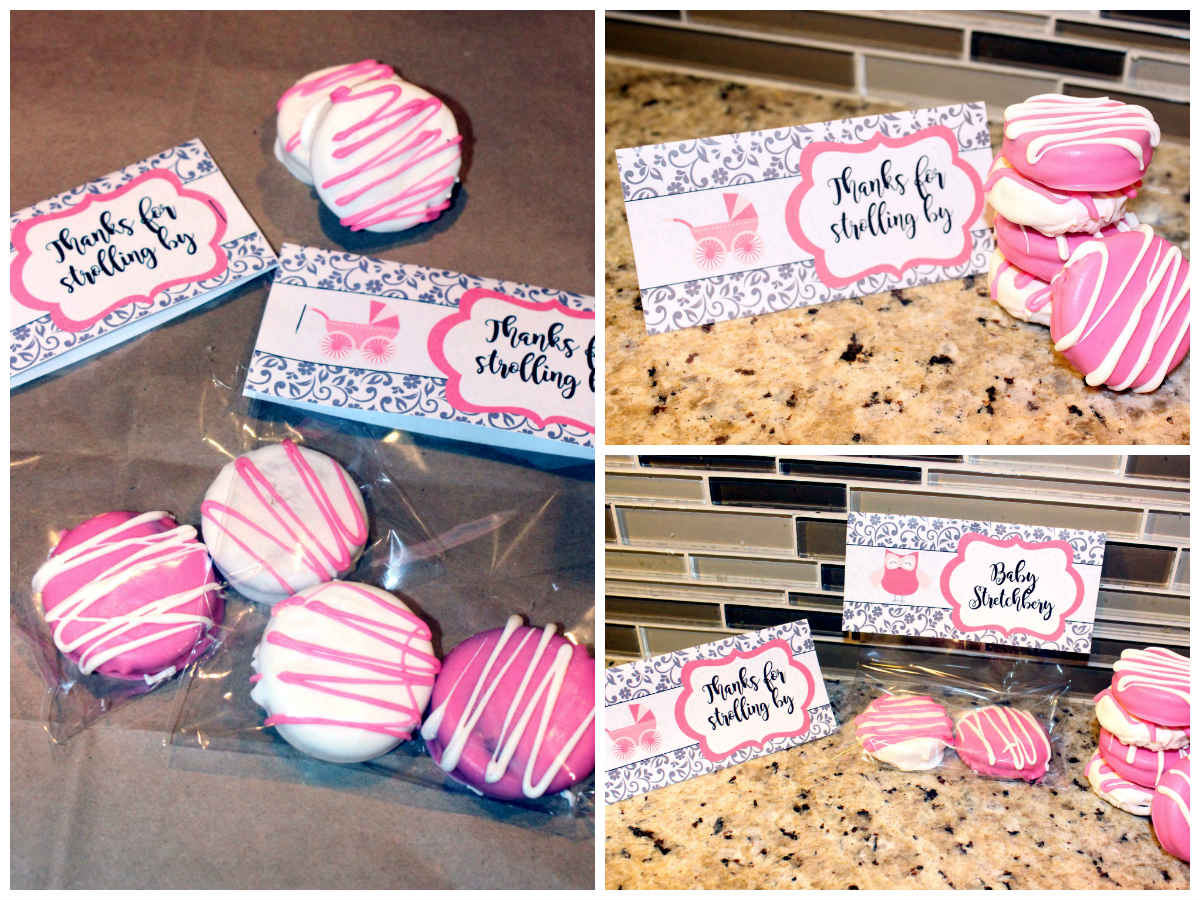
- Allow to dry and stuff each plastic bag with two cookies.
- Print off labels for your DIY shower favors to staple on to your bags (you can find designs all over the internet or use our design).
-
- Fold top of plastic bag over to ensure cookies stay put and staple tag to the bag on each side to finish your DIY shower favors.
- Send your guests home with a memorable treat!
This favor is great if you have quite a few guests and want to ensure everyone has something to take home, while staying on budget. It looks great when it’s finished and will be a real crowd pleaser.